
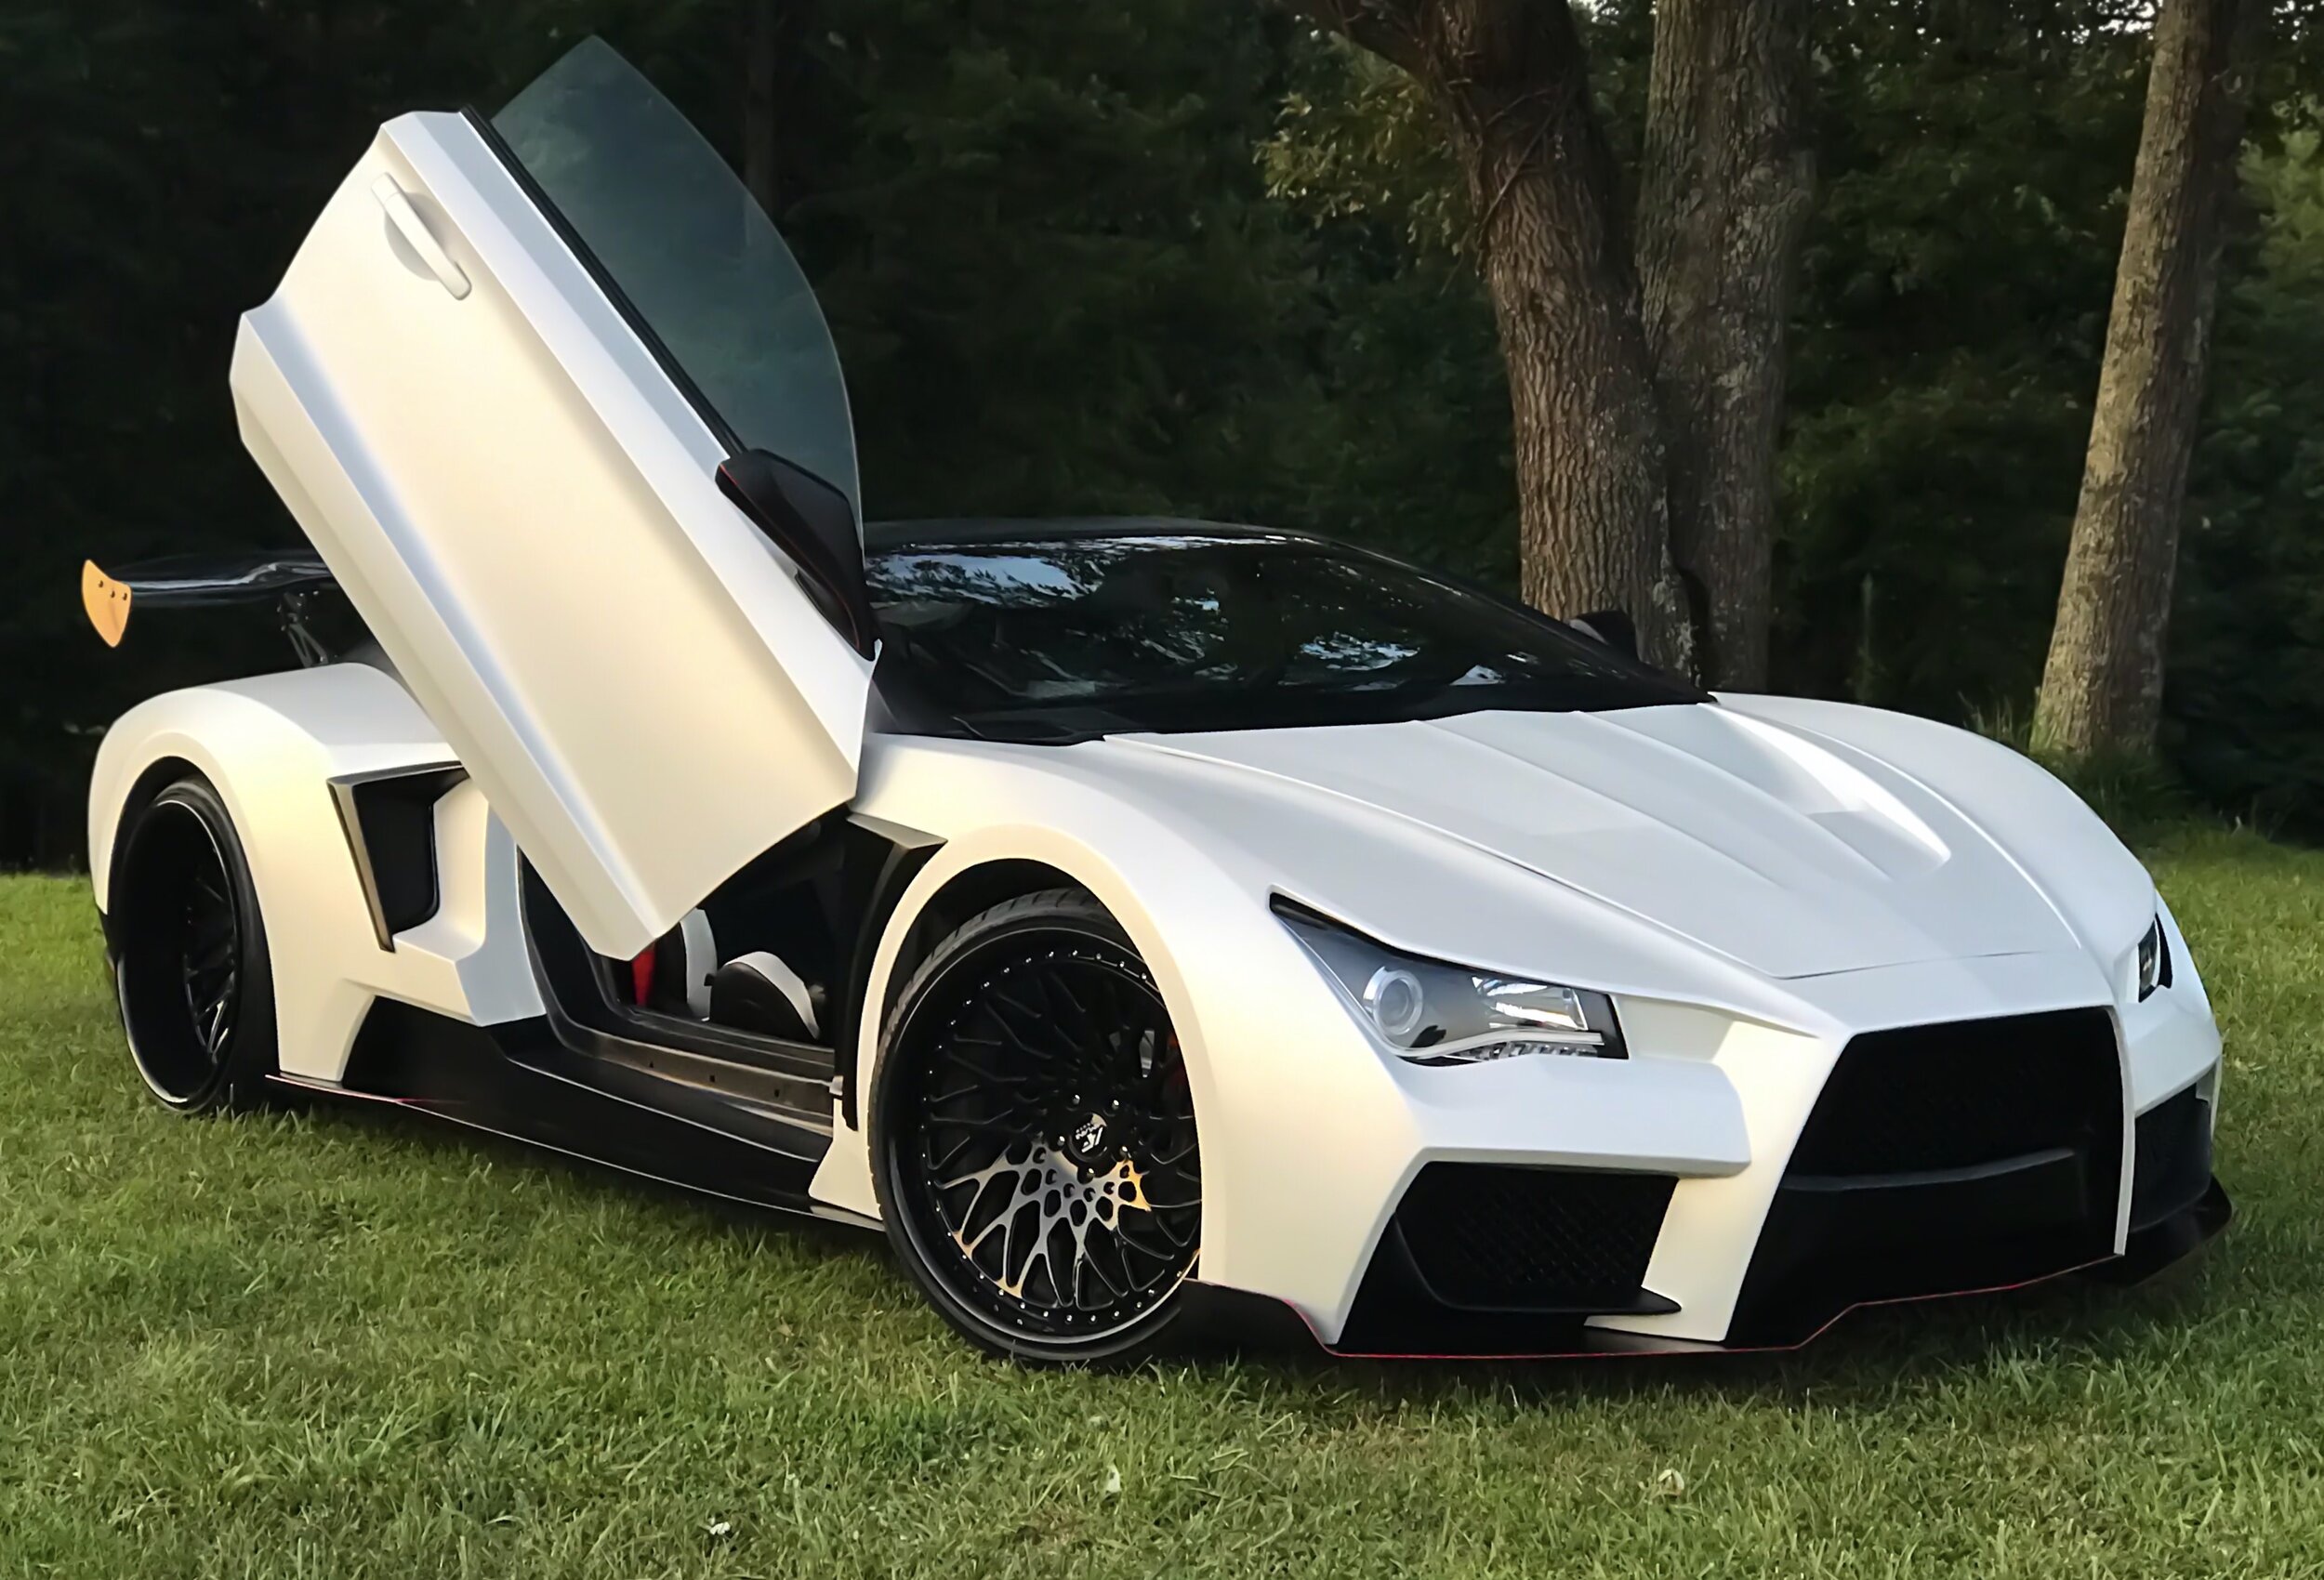
The VAYDOR Build.
If you are considering a VAYDOR Body Kit build, you are about to become a member of a very small, prestigious group of car enthusiasts who have a few things in common: They posses the ingenuity and ambition to achieve what very few people can claim during their lives: spec’ing and building their own VAYDOR!
* The process below is a general overview of the build process so potential buyers can make an informed decision. It is not to be confused as the build instruction guide that the CAROLINA VAYDOR team will provide to buyers of Vaydor Body Kits.
The Build Process.
1. Select the donor vehicle (be a pro buyer!)
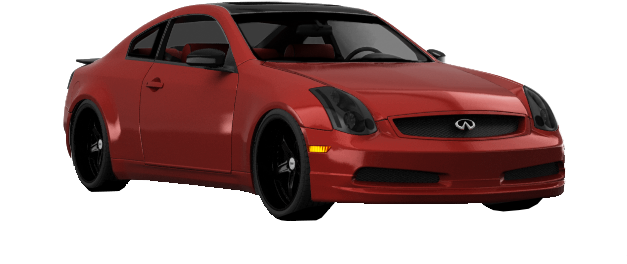
Infinity G35 Coupe Model Years 2003-2007 (auto or manual)
G35’s are commonly known to surpass 200,000+ miles. Choose one with lowest miles and great mechanical condition. [0-100k: Ideal. 100-125k: Great. 125-150k: Good. 150k+ ????]
Get a car with a clean title. Salvage titled car costs are very tempting, but harder to re-sell and a BIG gamble.
If a G35 has a crash history, ensure that the engine compartment and frame are not damaged and alignment is good. Avoid water damaged / flooded salvage cars at all costs, you want all of your electronics fully functional.
PRO TIPS:
A cosmetic damaged or sheet metal damaged car could get you a good car at a greatly discounted price!
Also, be very wary of door damaged cars because you need the window regulators fully functional.
2. Tear down the donor vehicle (sad, we know!)

Skills Required: Destructive skills, hammering skills, cutting skills, and photography skills.
PPE Required: Safety glasses always, masks, gloves, ear plugs.
Tools Required: Battery powered hammer drill with metric sockets, wrenches, Dewalt Sawsall + 10 blades, utility knives, etc.
Remove all bolted on exterior parts
Remove all interior parts being careful to label every wire with zip tie labels (you will thank yourself later!)
Remove windshield (very, very carefully)
Cut of all exterior sheet metal with a Dewalt Sawsall (our favorite tool of all-time!)
PRO TIPS:
There is a HUGE market for G35 parts, especially hoods, door bodies, facias, seats, interior, etc. You can recover up to the full cost of your G35 by selling the parts online (Craigs list, Facebook G35 groups, eBay, etc.)
If in doubt whether you need it, set it aside. You may need materials later to craft a solution out of something.
3. Attach roll cage (now the fun starts!)

Skills Required: Patience skills, welding skills, and photography skills.
PPE Required: Safety glasses always, welding mask, welding gloves, body coverage.
Tools Required: Professional MiG or TiG welder.
Prep and paint the supplied cage with black epoxy spray coating. (exterior kits come with pre-built cages)
Place cage on chassis and ensure all cage mounts are aligned to mounting points on the chassis.
Do a rough fitment of the front and rear body clips, doors, and rear diffuser to ensure cage alignment. Every 1/8” counts!!!!!!!
Once squared up, weld all mounting points of cage to chassis.
PRO TIPS:
Safety First! Keep rear bumper bar by shortening bumper brackets for clearance for rear clip and diffuser.
Double, triple, quadruple check your body component gaps before welding. Once the cage is welded, there is no going back!
If there is any time to hire a professional for a task, it is welding. It is critical for safety, quality, and durability.
4. Full Rough Install (looks like a car again!)

Skills Required: Patience skills, OCD skills, and photography skills.
PPE Required: Safety glasses always, gloves and respirator mask when handling/cutting fiberglass.
Tools Required: Dremel, oscillating cutting tool, power drill.
Trim, paint, and mount rear wheel wells and front core support to fit.
Re-route fuel filler neck to rear center.
Rough install exterior (cutting and trimming required)
Front clip
Hood
Main rear body shell
Trunk lid
Door hinges and Doors
Rear diffuser, trim
Roof wing
Wheels
Rough install interior (cutting and trimming required)
Dashboard
B pillar sections
Rear console
Middle console
Front console
Interior door panels
Once all body gaps, door gaps, and trim fit as though it is a completed build, mark and drill all connection points and permanently mount rear body.
5. Doors, lights, body work (the character test!)

Skills Required: Patience skills, double OCD skills, bondo skills, sanding/blocking skills, and photography skills.
PPE Required: Safety glasses always, gloves and respirator mask when sanding/cutting fiberglass.
Tools Required: Dremel, oscillating cutter, pneumatic or other automatic sanders, rigid sanding blocks, flexible sanding blocks, bondo, fiberglass resin.
Modify and transfer window regulator, windows, door handles, and latches from donor to VAYDOR doors.
Complete any under-body work during this phase:
Exhaust
Suspension
Brakes
Engine work, supercharger or turbo installed if desired.
Attach side view mirrors
Mount headlights, tail lights, brake light, license plate light.
Shaping, sanding/blocking and preparing aesthetic surfaces
Mount hood (temporary)
Mount trunk (temporary)
Mount doors (temporary)
Mount trim (temporary)
Shaping and blocking for final prep and prime.
Ensure entire exterior of car is ready for final fit and assembly before painting.
6. Prime & Prep 2 (I can see the light!)

Skills Required: Patience skills, triple OCD skills, bondo skills, sanding/blocking skills, and photography skills.
PPE Required: Safety glasses always, gloves and respirator mask when sanding/cutting fiberglass.
Tools Required: Dremel, oscillating cutter, pneumatic or other automatic sanders, rigid sanding blocks, flexible sanding blocks, bondo, fiberglass resin.
Final pre-paint surface prep.
Remove doors, front clip, trim, hood, trunk, roof wing.
Prime each piece individually, 2 coats minimum
Tape and mask off rear body
Prime rear body, 2 coats minimum
Sand & block all primed parts to paint quality surface.
Repair / re-prime / re-block any imperfections.
Final inspection before painting.
PRO TIPS:
Priming and Painting is another area that is highly recommended to hire a professional to complete.
7. Exterior Finish (Almost the finish line!)
Select, trim, and install vent mesh components
Have CAROLINA VAYDOR help you design and and produce a full color 3D rendering of your VAYDOR.
Order VAYDOR badges and emblems.
If you are not a professional painter, hire a professional auto painter to complete the paint job, you’ll be happy you did.
8. Complete Interior (The finish line!)

Interior upholstery kit is spec’d by the buyer and provided pre=cut and sewn to fit on the interior kit components.
Front and rear interior sound proofing materials installed
Upholstery applied and installed
Electronics installed (sound system, touch screen electronics, HVAC controls, etc)
PRO TIPS:
Interior upholstery applied to the interior components is one of the most intricate parts of the finishing process and there are 3rd party professionals available to do this for very reasonable costs. We’ll be happy to line you up.